
supplies you will need:
3 square envelopes (mine are 5 1/2"square)
6 pieces of pattern paper cut square (mine are 5 1/4" square)
adhesive
embellishments
**Before adhering anything layout it ALL out first**
1. layering up your envelopes (I thought the pictures would help better describe what I was saying....) You want one envelope down with the part you address looking at you. The other you want the closing side facing you. You want to lick the envelope that has the address side facing you and adhere it to the other envelope. *Make sure that you get it in the crease this will be important later on*
 2. add your third envelope by licking it and adhere it to the underside of the addressed side envelope. See the loose side over there? you want to lick that and adhere it to itself.
 3. This is what it should look like all adhered together.
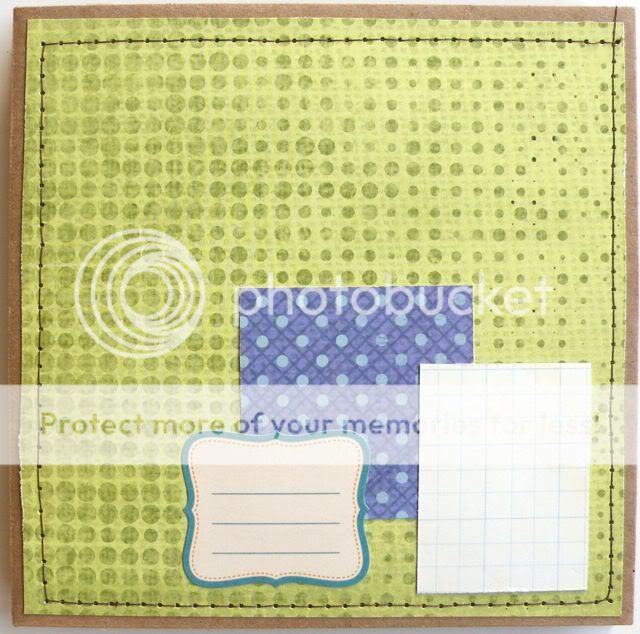
 4. Layout your pattern papers deciding which one will be the cover. Then adhere them to your envelopes centering as best as you can. (I usually eye ball this part) you will notice that I sewed mine. what I did was to put a little adhesive in the middle to hold it in place and straight stitched it on my machine. It sews through both sides! (I alternate which will have the top stitch so that it won't look one sided....)
2. add your third envelope by licking it and adhere it to the underside of the addressed side envelope. See the loose side over there? you want to lick that and adhere it to itself.3. This is what it should look like all adhered together.4. Layout your pattern papers deciding which one will be the cover. Then adhere them to your envelopes centering as best as you can. (I usually eye ball this part) you will notice that I sewed mine. what I did was to put a little adhesive in the middle to hold it in place and straight stitched it on my machine. It sews through both sides! (I alternate which will have the top stitch so that it won't look one sided....)5. Then embellish away! For this little album I used my August kit from Scrapbook Circle, and a couple of scraps from another project. EASY!


I plan on giving this little album to another friend who is expecting a little boy.
Oh, I almost forgot! The coolest thing about this little album is that it will fit inside a 6" envelope! And as you can see it can stand up all by itself because it's got nice stiff backing from the envelopes. Like I said in my previous post this is QUICK and easy! I think these will be my new baby gift to my friends! You could also do Birthday or other special occasions the possibilities are endless!
Thanks for stopping by! Sure hope that your weekend is a GREAT one! :)
6 comments:
I sooooooooooooooo love this Diana!! Thanks sooooooooooo much for sharing how you made it!! I was wondering!! I am gonna try this!! :):):):):):):):):):):):):):):):):):):):):):):):):):):):):):):):):)
Thanks for the fabulous tutorial!!!
super cool mini.
love the tute.
scrapbook-crazy.com
Oh, I just love this one. You are so talented :-)
Great tutorial! Clever idea. :)
LOVE this tutorial Diana! & MISS you so much!!! I still come by & check on you :o) just don't always leave you the love...hope life is treating you well!!! Take care, Stacy
Post a Comment